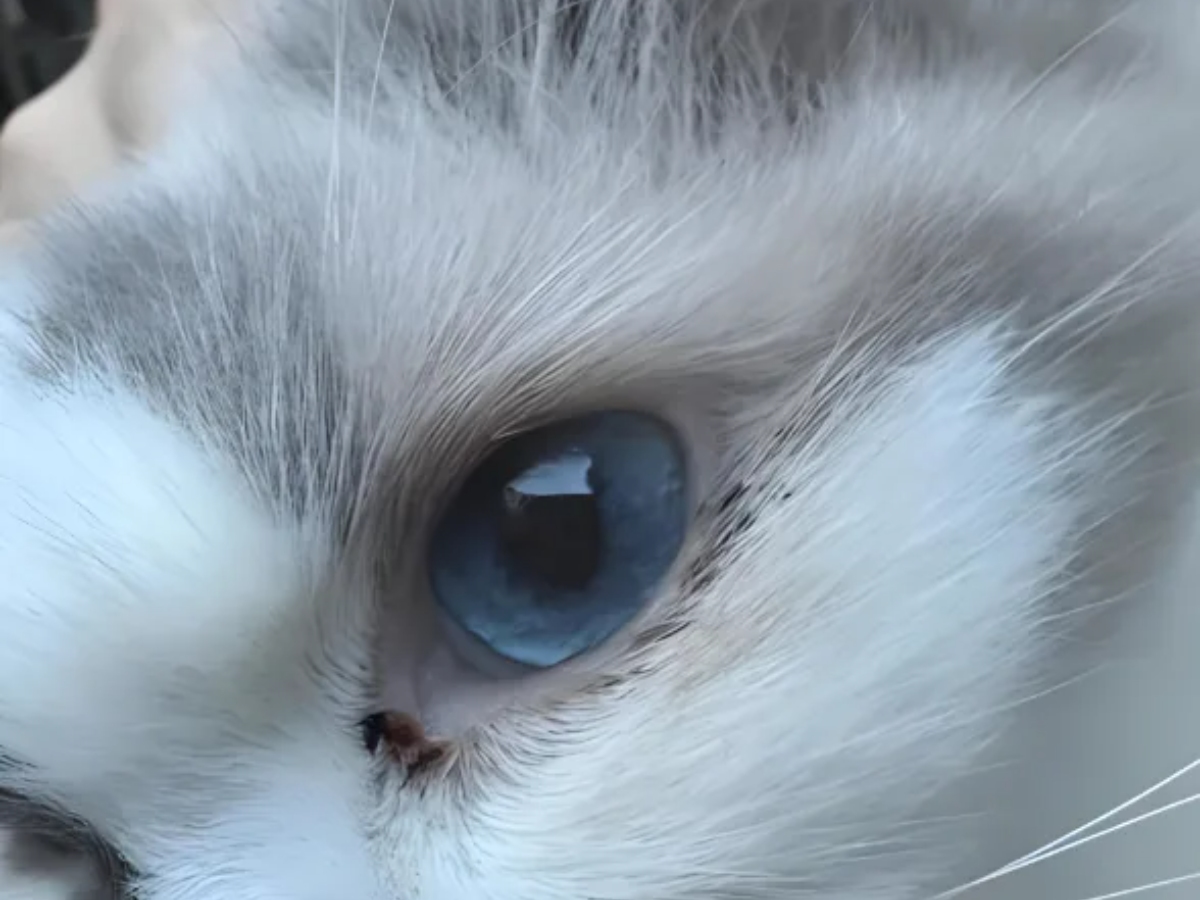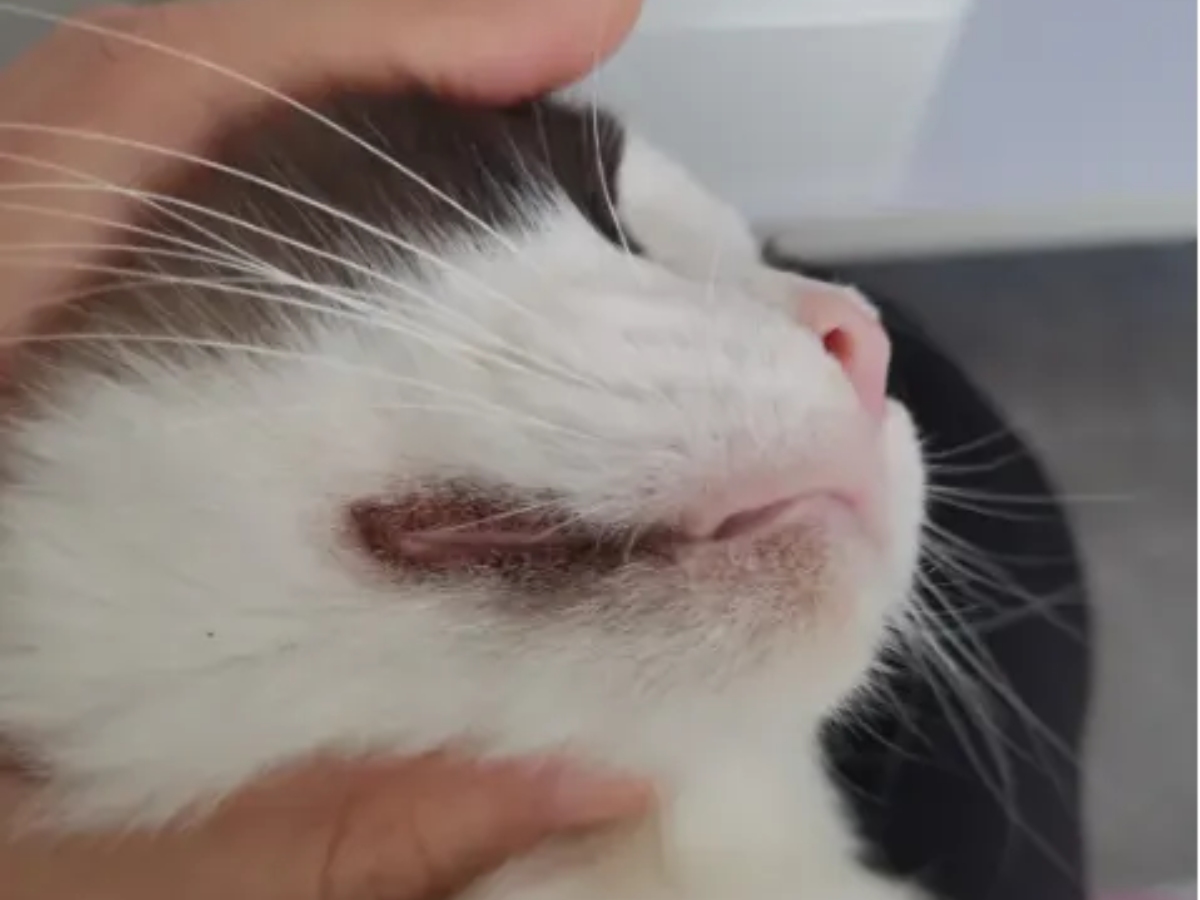

As a long-time cat owner, friends often ask me questions about cats, and one of the most common topics is how to identify and clean a cat’s earwax. Every time I’m asked this, I completely understand. After all, earwax isn’t a huge issue, but it’s not a minor one either—it mainly requires cat owners to be very attentive and patient.
Over the years, I’ve made my share of mistakes and taken my cats to the vet a few times, and I’ve gradually figured out a safe and effective cleaning method. In this article, I’ve compiled all my experiences to provide some potentially useful information for fellow cat lovers.
What Is Cat Ear Wax?
When it comes to earwax, many cat owners assume it’s harmful and offers no benefits. In fact, earwax is a natural secretion produced in a cat’s ear canal, consisting mainly of oils, skin flakes, and a small amount of moisture. It may sound ordinary, but for cats, earwax acts as a natural “ear barrier” that blocks dust, small insects, and bacteria from entering the ear, and it also has some antibacterial properties.
A cat’s ear canal is L-shaped, and the sebaceous and sweat glands inside work diligently. The oils they secrete mix with shed skin flakes and dust from the air to form earwax. Therefore, having earwax is normal. As long as the amount is small, the color is light yellow or pale brown, and your cat isn’t scratching its ears or shaking its head, you don’t need to worry about cleaning your cat’s ears.
Furthermore, a cat’s ears have a natural self-cleaning mechanism. Everyday actions like chewing, opening the mouth, and shaking the head gradually push old earwax toward the outer ear, where it naturally falls out.
As a cat owner, there’s no need to strive for “spotless” ears—doing so could actually disrupt your cat’s natural defense mechanism. Only when your cat’s earwax suddenly increases in volume, turns dark brown or black, feels greasy or sticky to the touch, and your cat shows signs of discomfort should you step in to help clean it. Keep a close eye on your cat’s ears, but avoid over-handling them—this keeps your cat comfortable and gives you peace of mind.
Normal vs. Unhealthy Cat Ear Wax (The Color & Texture Guide)
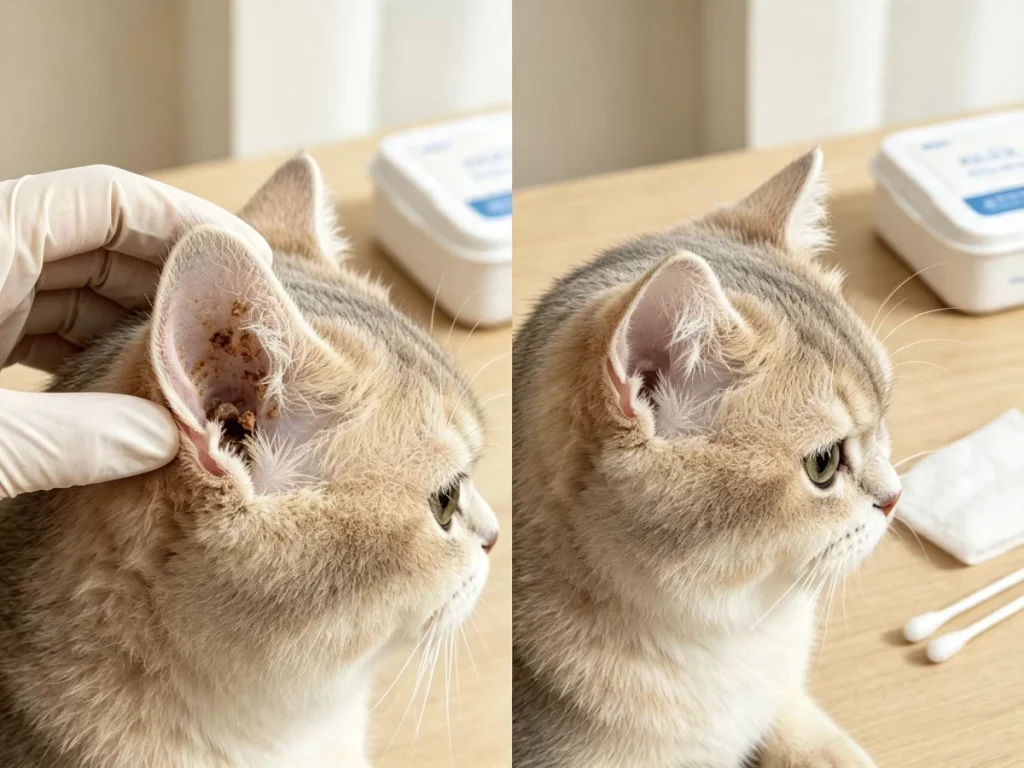
To determine whether your cat’s earwax is normal or abnormal, the most straightforward method is to examine its color and texture, as there is usually a clear distinction between the two. Normal cat earwax typically has the following characteristics:
- Light yellow or brownish-yellow
- Dry texture
- No noticeable odor; only a faint, oily scent can be detected when you get close
- Present in small amounts, with no significant buildup
What does abnormal cat earwax look like?
I’ve prepared a table for your reference:
| Color/Consistency | Health Assessment | Recommended Action |
| Dark brown/black paste-like | Caution | Check for ear mites or fungal infections; if there is only a very small amount of buildup, try cleaning with an ear-cleaning solution. If accompanied by frequent head-shaking or scratching, seek veterinary care promptly |
| Yellowish-green pus | Warning | May indicate a bacterial infection; seek veterinary care immediately |
| Red with traces of blood | Warning | May indicate broken skin; do not attempt to flush the ear yourself; seek veterinary advice |
| Black, flaky, coffee-ground-like | Abnormal | Visit a veterinary clinic to check for ear mites |
What Supplies Do You Need to Clean Cat Ear Wax at Home?
Preparing the necessary supplies in advance is a crucial step before cleaning; it can save you a lot of trouble and help prevent any unexpected issues that might arise during the process. Here are the supplies I typically use when cleaning my cat’s ears, for your reference:
1. Pet-specific ear cleaning solution
This is the most important item. There are many pet ear cleaning solutions available on the market; choose one with a balanced pH and gentle ingredients to minimize irritation to your cat’s ear skin.
2. Pet-specific wipes or soft cotton pads
These are used to wipe your cat’s outer ears and remove any dirt that’s been dislodged. Never use long cotton swabs to probe deep into your cat’s ear canal, as this can cause injury; also, avoid using medical-grade cotton wool, as it tends to shed fibers that can get trapped in your cat’s ear canal.
3. Large Towel
When my cat is in a bad mood, she can be very uncooperative during ear cleaning. At times like this, I use a large towel to wrap her up like a “cat burrito.” This prevents scratches and helps calm her down. Overall, this is a very useful method; the size of the towel depends on the cat’s size.
4. Treats Your Cat Loves
Use these to soothe your cat’s emotions. Give your cat its favorite treats both before and after cleaning. This helps your cat associate ear cleaning with getting treats, creating a positive association that gradually increases its cooperation.
How to Clean Cat Ear Wax Safely at Home (Step-by-Step Guide)
Once you’ve gathered all the necessary items, it’s time to move on to the most important part: the actual procedure. You can follow this five-step cleaning method:
STEP 1: Choose the Right Time
It’s best to clean your cat’s ears when it’s relaxed, such as after a nap. If your cat isn’t very cooperative, you can use a treat to entice it, then secure it with a towel so that only its head is exposed. Gently stroke your cat to help it calm down.
STEP 2: Check Your Cat’s Ears
Once your cat is calm, gently pull back the outer ear flap to inspect the ear canal, paying close attention for any discharge, redness, swelling, or skin abrasions. If everything looks normal, proceed to the next step.
STEP 3: Apply Pet-Specific Ear Cleanser
Following the dosage recommended in the instructions, aim the bottle nozzle at the entrance to the ear canal.
Note: Do not let the bottle nozzle touch the cat’s ear to prevent cross-contamination.
STEP 4: Gently Massage the Base of the Ear
After applying the ear wash, hold the cat’s head steady and use your thumb and index finger to gently massage the base of the ear for 30 seconds to help the solution fully dissolve the earwax.
STEP 5: Let the cat shake its head and wipe
Release your grip and let the cat shake its head naturally. After the cat has finished shaking its head, use a cotton pad or pet-safe wet wipe to gently wipe away any debris from the outer ear.
Warning: Clean only the areas visible to the naked eye. Never insert a cotton swab into your cat’s ear canal!
Common Misconceptions & What to Avoid
Misconception 1: The cleaner a cat’s ears are, the better
In fact, earwax plays a protective role in a cat’s ear canal, so it’s not necessarily true that the cleaner a cat’s ears are, the better. Frequent cleaning may damage the cat’s skin barrier.
Misconception 2: You Can Clean Your Cat’s Ears with Homemade Solutions or Household Remedies
No! Plain water can easily linger in your cat’s ear canal and cause inflammation. Liquids like hydrogen peroxide, vinegar, and alcohol are highly irritating and may burn your cat’s ear canal.
Misconception 3: Using cotton swabs is an effective way to clean a cat’s ears
Please do not insert cotton swabs deep into your cat’s ear canal. If your hand shakes or your cat suddenly moves, you may push the earwax deeper, causing a blockage in the ear canal or even perforating the eardrum, which could lead to hearing loss.
How Often Should You Clean Your Cat’s Ears?
I’m often asked how often it’s appropriate to clean a cat’s ears, and the answer is that there’s no one-size-fits-all frequency that works for every cat.
Every cat is different, and the frequency of cleaning mainly depends on factors such as the amount of earwax the cat produces, its living environment, and its daily hygiene habits.
However, after observing a large number of cats, I have some cleaning recommendations to share with you:
Standard short-haired cats/healthy cats: As long as the ears are clean and odor-free and the cat shows no signs of discomfort, frequent cleaning isn’t necessary—a cat’s ear canal has a natural self-cleaning ability. Rather than sticking to a fixed cleaning schedule, it’s more important to monitor the condition of the ears regularly. Check your cat’s ears 1–2 times a month, and clean them only if you notice any buildup.
Folded-ear cats/long-haired cats/cats prone to earwax buildup: Due to the folds in the ear or hair blocking airflow, earwax tends to accumulate more easily. In these cases, you can check their ears once every 1–2 weeks and clean them when there is noticeable buildup.
Making Ear Care a Stress-Free Habit
Over the years I’ve been raising cats, I’ve come to realize more and more that grooming a cat isn’t a battle but a collaborative effort. “Collaboration” is always more important than “coercion”; using force to clean a cat’s ears only ends up hurting both of us.
My current routine is that every time I scratch her chin and ears, I gently flip back her ear flap to take a quick look—using light, massaging motions. By incorporating grooming into our daily interactions, my cat is much more receptive to it.
Of course, many cats will flinch the first time their ears are touched. My approach involves three steps:
First, start by gently touching the ear and immediately giving a treat to help the cat get used to your hand being nearby. The second time, touch it for a few more seconds—proceed gradually and repeat this several times.
Second, keep your touch light and your demeanor calm throughout. If the cat is visibly anxious or tries to run away, stop immediately; don’t hold it down. Overly forceful restraint can cause the cat to become stressed, which is bad for both the pet and the owner.
Third, make sure to reward your cat after every cleaning session—the “three essentials” of treats, petting, and praise. Don’t skip a single one. Help your cat associate “ear cleaning” with “something good,” and they’ll become more cooperative over time.
Pet ownership is inherently a task that requires patience, and instilling good habits in your cat isn’t something that happens overnight. Stay patient and gentle, and you might find that your cat is more cooperative than you ever imagined.
FAQs
Q1: What does normal earwax look like in cats?
Normal earwax is light yellow or brownish-yellow in color, has a relatively dry texture, and does not have a noticeable odor.
Q2: How often should a cat’s ears be cleaned?
There’s no set answer. Checking your cat’s ears is more important than cleaning them. You can check your cat’s ears once every 1–2 weeks, and if there’s a buildup of earwax, you can clean them then.
Q3: How much does it cost to have a veterinarian clean a cat’s ears?
A routine ear exam and basic cleaning at a veterinary clinic costs approximately $30–$80.
-
Sale!
Pet Deodorizing Spray 60ml – Portable Pocket Odor Remove
Original price was: $4.19.$3.99Current price is: $3.99. Add to cart -
Sale!

disposable Multipurpose pet Body cleaning glove Wipes
Original price was: $9.44.$4.72Current price is: $4.72. Add to cart -
Sale!
Pet Deodorizing Spray 150ml – best Natural Dog Cat Odor Remover
Original price was: $5.29.$4.99Current price is: $4.99. Read more